U-Joint Replacement
Driveshaft, Single Cardan Universal Joint
Driveshaft
Removal
- Lower the fuel tank (9002) approximately 15 cm (6 inches). If you know how to do that, skip it all together.
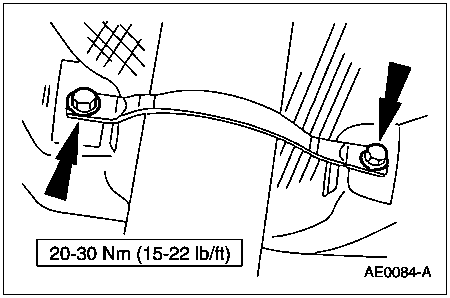
- Remove the retaining bolts and the sub-frame center support member (5K065).
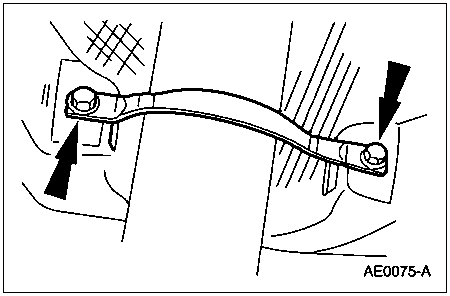
- Remove the retaining bolts and the sub-frame crossmember (5K068).

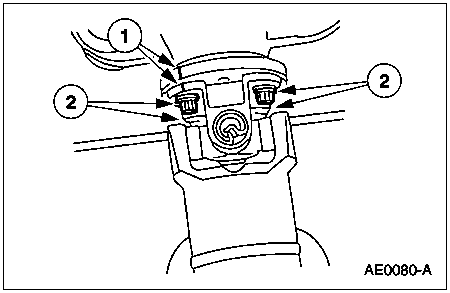
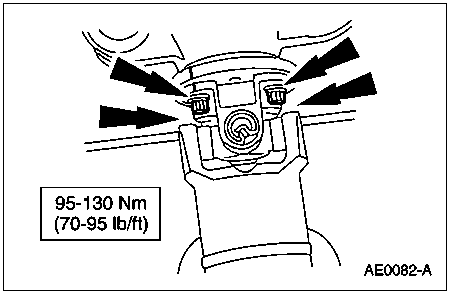
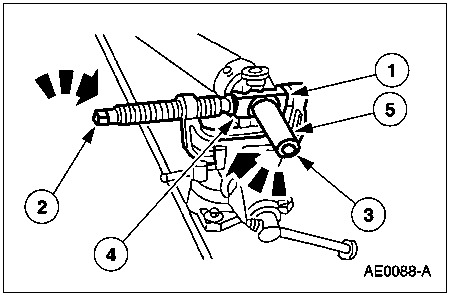
- Separate the driveshaft centering socket yoke (4782) from the rear axle universal joint flange (4851).
- Place a paint index mark on the rear axle universal joint flange and the driveshaft centering socket yoke.
- Remove four retaining bolts.
- Remove the driveshaft (4602).
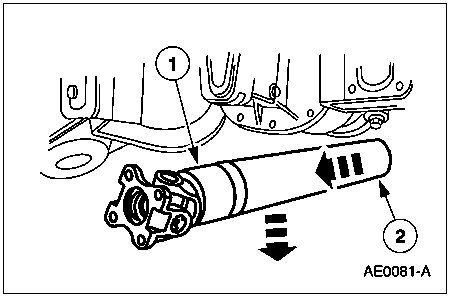
- Lower the rear end of the driveshaft to clear the rear axle housing (4010).
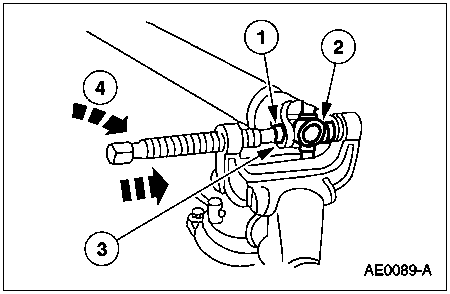
- Pull the driveshaft rearward until the driveshaft slip yoke (4841) clears the transmission extension housing.
- Place a paint index mark on the driveshaft slip yoke and the transmission output shaft.
- Remove driveshaft from vehicle.
Installation
- To install align the index marks and follow removal procedure in reverse order.
 |
U-Joint Tool T74P-4635-C |
Disassembly
-
Place the driveshaft on a suitable workbench. Be careful not to damage the tube. CAUTION: Under no circumstances is the driveshaft assembly to be clamped in the jaws of a vise or similar holding fixture. Denting or localizing fracture may result, causing driveshaft failure during vehicle operation.
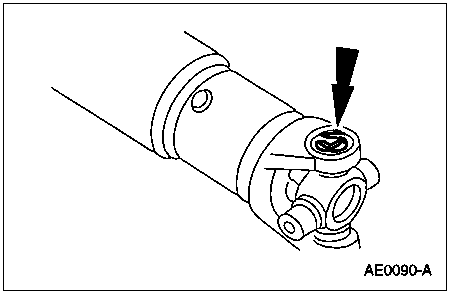
- Index mark the driveshaft components relative to the driveshaft tube. All components must be reassembled in the same relationship to maintain the proper balance.
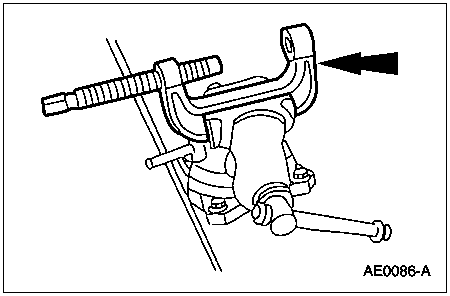
- Clamp the U-Joint Tool in a vise.
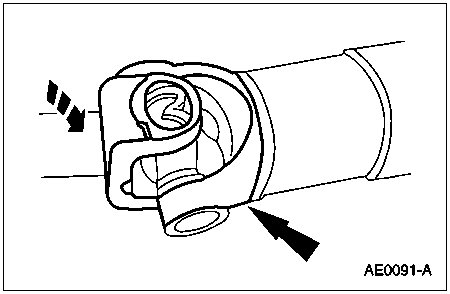
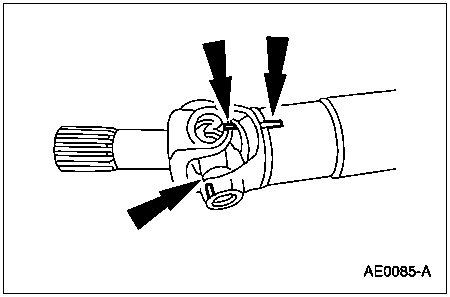
- Remove the four bearing cup snap rings.
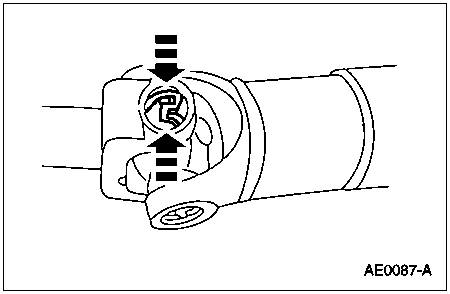
-
NOTE: If necessary, use a pair of pliers to remove a bearing cup if it cannot be pressed out all the way.
Remove the driveshaft slip yoke.- Position the driveshaft slip yoke in the U-Joint Tool.
- Press out the bearing cup.
- Rotate the driveshaft slip yoke.
- Press on the spider to remove the remaining bearing cup.
- Remove the driveshaft slip yoke.
- Repeat Step 5 to remove the remaining bearing cups, spider and driveshaft centering socket yoke from the driveshaft.
- Clean the yoke area at each end of the driveshaft.
Assembly
-
NOTE: Universal joint service kits are to be installed as complete assemblies only. Do not mix components from other universal joints.
Install the bearing cup.- Start a new bearing cup into the driveshaft yoke.
- Position the new spider in the driveshaft yoke.
- Position the driveshaft yoke in the U-Joint Tool.
- Press the bearing cup below the yoke surface.
-
NOTE: Use the yellow snap rings supplied in the kit to assemble the universal joint. If difficulty is encountered with the yellow snap rings, install the black snap rings.
Install the snap ring.
- Repeat Steps 1 and 2 to install the remaining new bearing cups, spider, driveshaft slip yoke, driveshaft centering socket yoke and snap rings.
-
NOTE: Do not strike the bearings.
Check the U-joints for freedom of movement.- If binding, strike the yoke with a brass or plastic hammer.